Netgear is an eminent brand, when it comes to internet-related products. Netgear extenders are one of their prominent products, giving solution to high-speed internet, even in hard-to-access areas of home.
The Netgear extenders work by receiving the signal from an already installed router and expanding it further to get better internet signal throughout the home. However, despite buying such a renowned brand Netgear Extender, if the configuration has not been done rightly, then, there is possibility of getting technical blips. Also, you may not receive what is promised by the Netgear Extender, ruining your internet experience. Though, this write-up is going to get you covered entirely on the Netgear Extender setup method, however, we are focusing on Netgear EX3700 setup in particular.
Here, we would like to specify that all the Netgear extenders have almost similar steps of the setup process. Go ahead with the same procedure even if you are using any other Netgear extender model.
Now, let’s dig deep into the Netgear extender setup process. There are mainly three methods to complete the setup process, viz. Netgear extender setup using manual method, Nighthawk app and WPS method. All these methods are clearly described ahead. Please go through the entire article thoroughly and follow any of the setup methods as per your choice.
Netgear Extender EX3700 Manual Setup
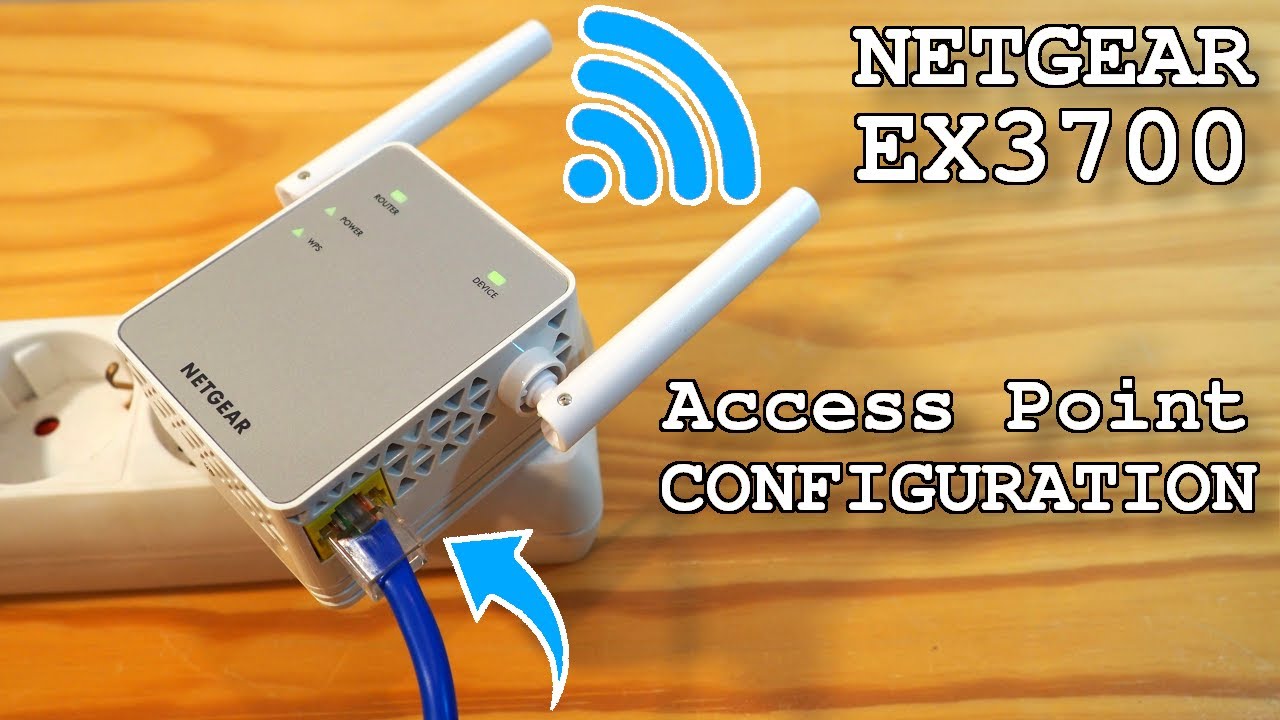
- Place the Netgear extender EX3700 close to the router.
- Now plug in Netgear extender into the power source and turn it on. Wait till the LED light is solid green.
- Using an Ethernet cable, connect the router to the extender.
- Launch a web browser on your computer and go to the web address www.mywifiext.net to get on to the login page.
- You will be prompted to enter your login details on the login page. Click on Log In button, post filling in the credentials.
- You will land on Netgear Genie setup wizard, where in, you will just have to follow the prompts, to get access to the router network and connect to internet.
Voila! The Netgear extender setup process is complete using manual method via web browser. Please note that if you have a Mac Book then the web address will be a different one and not the one which is mentioned above. Now get the desired devices connected to the Netgear extender’s network and start accessing the internet.
Netgear Extender EX3700 Setup Using App
- First, connect the Netgear extender EX3700 to the power source and turn the switch on.
- Place the connection between the router and the extender using an Ethernet cable.
- Now, install Nighthawk App on your mobile to complete the further process.
- Launch the app and login to your Netgear account.
- Do the Nighthawk login and follow the instructions which you see on the mobile screen.
- You are done with the Netgear extender EX3700 setup process.
Netgear Extender EX3700 Setup via WPS Method
- Turn on the Netgear extender ex3700 by plugging in the power source to the wall socket.
- Establish the wired connectivity between the EX3700 extender and the access point or the router.
- Locate the WPS button on the router and push it.
- Locate and press the WPS button on the Netgear extender as well.
- The setup process is complete using these simple steps.
That’s it; this is all about getting your Netgear extender EX3700 configured. This should give your Netgear extender access to the WiFi network which is already in place. You can now place the extender at any remote or WiFi-dead areas around your home, connect the devices to the extender network and start receiving an uninterrupted network even where it seemed impossible earlier.