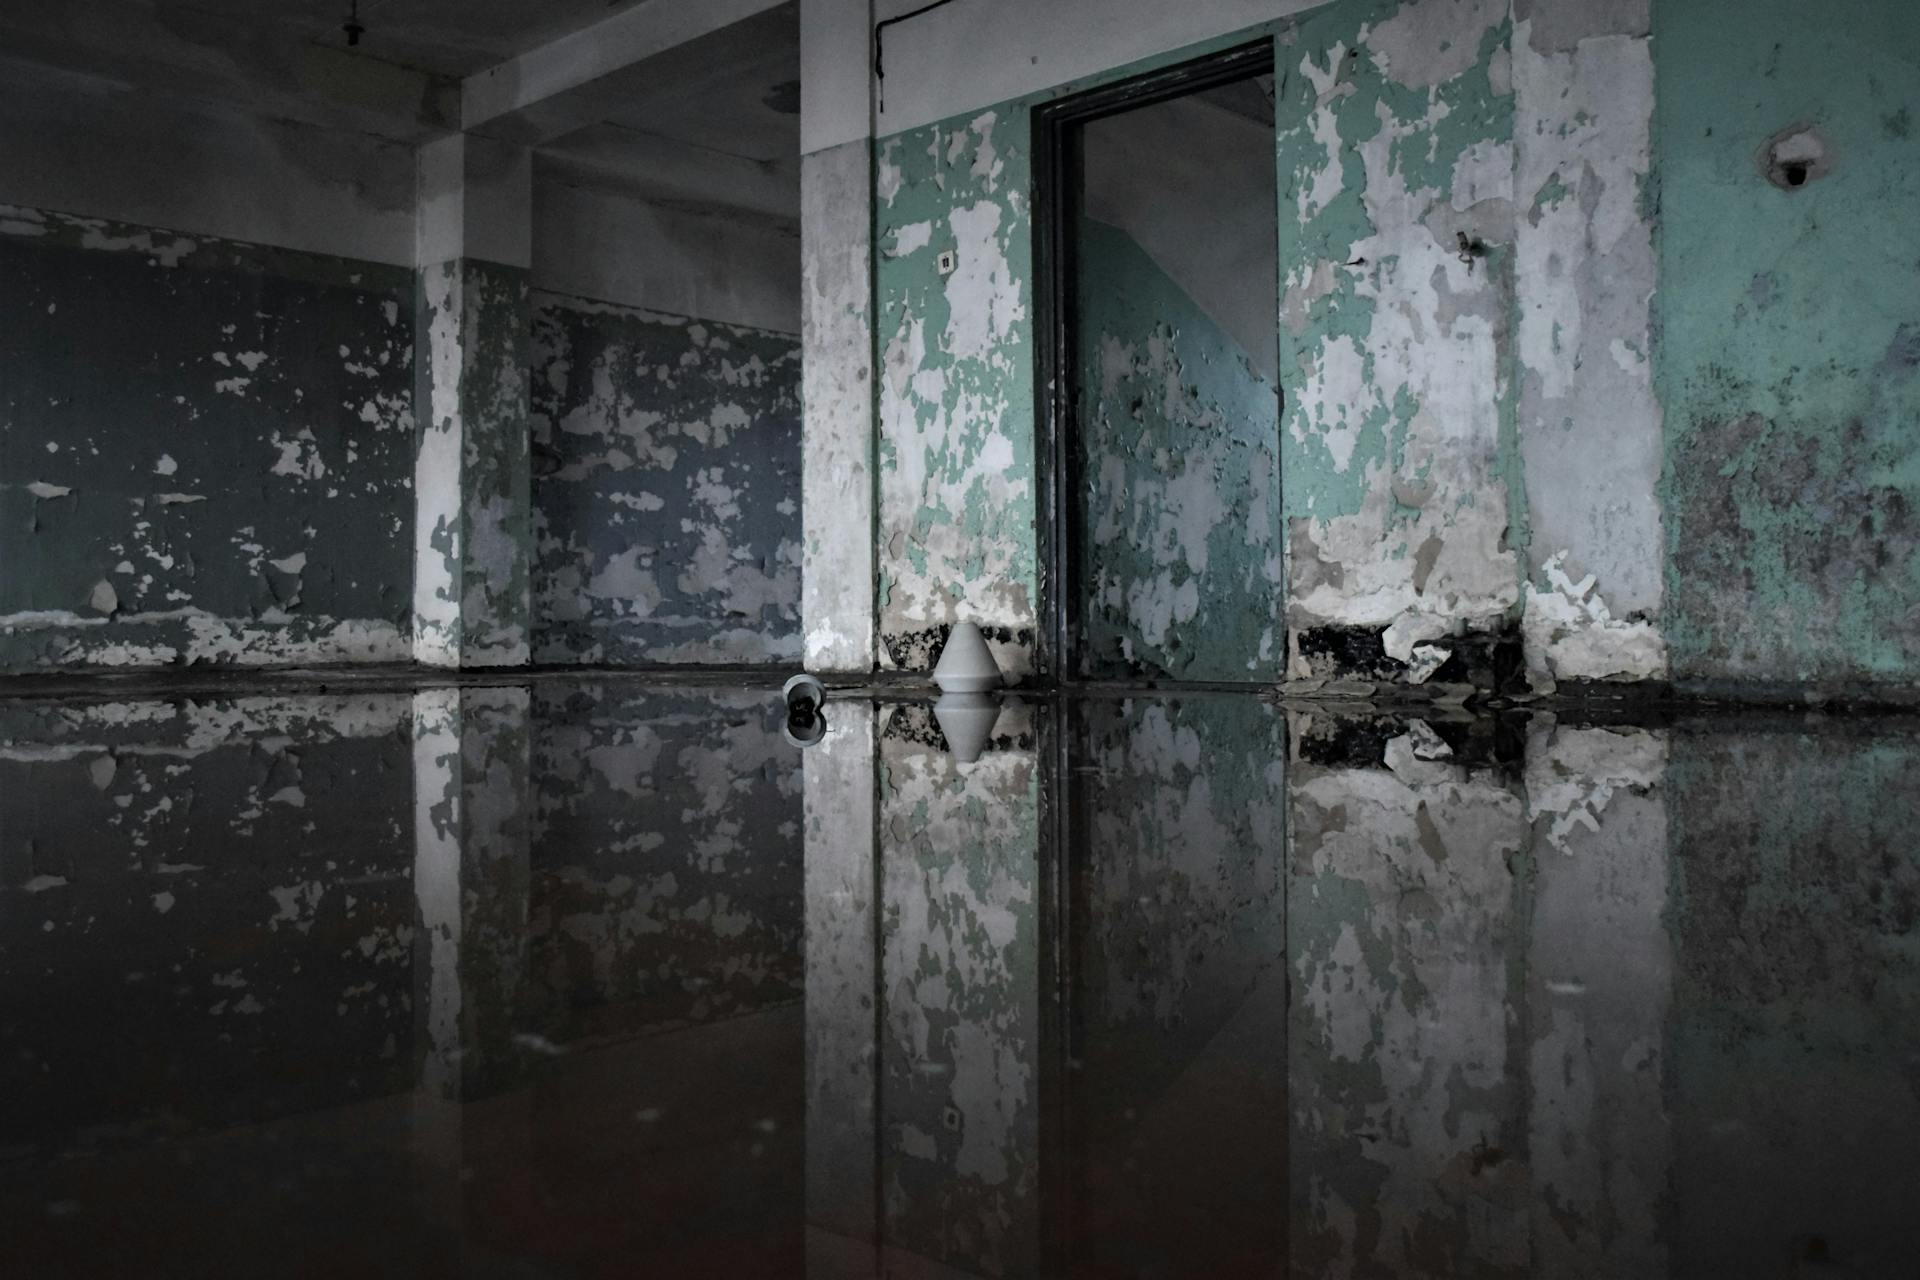
Imagine coming home to find your floors soaked, your walls damp, and a musty odor creeping through the air. Whether from a burst pipe, heavy rain, or an overflowing appliance, water damage is more than an inconvenience—it’s a full-blown crisis.
But here’s the good news: with the right approach, you can recover. Let’s discuss how to handle water damage from the moment it happens to the final stages of restoration. This complete guide walks you through everything you need to know to protect your home and your peace of mind.
What Causes Water Damage in Homes?
Before we jump into the solutions, it’s important to understand the root of the problem. Water damage can come from many sources, some obvious, others hidden until it’s too late.
Here are the most common culprits:
- Burst or leaking pipes
- Appliance malfunctions (washing machines, dishwashers, water heaters)
- Roof leaks during storms
- Basement flooding
- Sewage backups
- Poor drainage or clogged gutters
Knowing the source is the first step to preventing future damage, and choosing the right restoration plan.
Step 1: Immediate Action—What to Do First
Time is critical when it comes to water damage. The longer water sits, the more it seeps into materials, warps wood, and encourages mold growth.
So, what should you do the moment you spot a problem?
1. Ensure Safety First
- Turn offthe electricity in the affected area.
- Avoid walking on wet surfaces with power cords or appliances nearby.
- If the damage is from a natural disaster or sewage, don’t try to handle it alone—it can be hazardous.
2. Stop the Source
- Shut off your main water valve if a pipe has burst.
- Call a plumber or specialist for immediate repair if needed.
3. Document Everything
Take photos and videos of the affected areas before you start cleanup. These records will be crucial when filing an insurance claim.
4. Call Your Insurance Provider
Notify them as soon as possible. They may send an adjuster and advise you on what to do next.
5. Contact a Water Damage Restoration Professional
Some jobs are too big for a DIY approach. Cert ified professionals have the tools, drying systems, and experience to stop damage before it worsens. If you’re looking for dependable home restoration in Anderson SC, we highly recommendPremierconstructionandrestoration.com for their fast response and expert service. Their team goes above and beyond to minimize damage and restore homes quickly.
Step 2: Water Removal and Drying
Let’s discuss what happens once professionals arrive—or if you’re tackling the job yourself with rented equipment.
1. Water Extraction
Professionals use high-powered pumps and vacuums to remove standing water. This process is fast and essential to prevent structural weakening and mold.
2. Drying and Dehumidifying
After the water’s gone, your walls, floors, and air still hold moisture. Industrial-grade fans and dehumidifiers run for days to eliminate hidden dampness.
Pro tip: Don’t rely on feeling the surface with your hand. Materials like drywall and insulation may seem dry but still hold dangerous moisture inside.
Step 3: Mold Inspection and Remediation
Water damage and mold go hand in hand. Mold can begin growing within 24–48 hours in damp conditions, so early intervention is critical.
How do you know if mold is present?
- Musty odor
- Discoloration (black, green, or brown spots)
- Allergy symptoms in family members
A certified mold specialist can perform an air quality test or visual inspection. If mold is found, professional remediation involves containment, HEPA filtration, and removal of contaminated materials.
Step 4: Repair and Restoration
Now comes the rebuilding phase—where your home starts to look and feel normal again.
What gets replaced?
It depends on the severity. Some common replacements include:
- Drywall and insulation
- Flooring (carpet, hardwood, tile)
- Cabinetry
- Baseboards and trim
- Paint and finishes
In severe cases, structural repairs may also be required. Fortunately, many restoration companies also offer full construction services, so you can handle cleanup and rebuilding with one team.
Step 5: Final Cleaning and Sanitizing
Restoration isn’t complete without proper sanitization. Water—especially from external or sewer sources—can carry bacteria and contaminants.
Restoration teams use EPA-approved antimicrobial and antibacterial treatments on affected surfaces to ensure your home is safe and healthy.
What About Your Belongings?
Let’s not forget about furniture, electronics, clothing, and personal keepsakes. Some items may be saved, others may not.
Salvageable items may be:
- Dried using special techniques (freeze-drying for documents, for example)
- Cleaned with ozone treatments
- Disinfected with anti-microbial sprays
What can’t be saved:
- Soaked mattresses
- Severely warped furniture
- Items contaminated by sewage water
A professional restoration team can help assess and inventory these items for your insurance claim.
Preventing Future Water Damage
Now that you’ve experienced the headache, you’re probably asking: how can I stop this from happening again?
Let’s explore a few proactive tips:
1. Install Water Leak Detectors
Smart sensors near appliances and pipes can alert you the moment a leak is detected.
2. Maintain Gutters and Downspouts
Clogged gutters lead to water pooling near your foundation. Clean them regularly and ensure downspouts direct water away from the house.
3. Inspect Plumbing Regularly
Check for corrosion, leaks, and worn hoses. Don’t wait until something bursts.
4. Consider a Sump Pump
For basements prone to flooding, a sump pump can automatically remove water before it becomes a disaster.
5. Seal Cracks and Check Your Roof
Have your roof inspected annually. Seal any foundation cracks that could let water seep in during heavy rain.
Working with Insurance: Tips for a Smooth Claim
Let’s face it—dealing with insurance after water damage can feel like a battle. Here’s how to make the process smoother:
- Notify your provider immediately and ask about coverage specifics
- Keep a detailed inventory of damaged items
- Save all receipts from repairs, replacements, and lodging (if you had to stay elsewhere)
- Follow up regularly with your adjuster
- Use a restoration company familiar with insurance claims—they’ll know how to speak the language and document everything properly
Final Thoughts: Don’t Wait, Act Fast
Water damage may be one of the most stressful things a homeowner faces, but it’s also one of the most manageable, as long as you act quickly.
From identifying the source to drying out and restoring your home, each step is a crucial part of the recovery journey. The good news? With professionals on your side, a clear plan, and smart prevention tactics, you can not only restore your home but also protect it better than ever.
Let’s discuss: Have you experienced water damage before? What steps did you take, and what would you do differently now?
Apart from that, if you are interested to know about “The Importance of Professional Water Damage Restoration Services” then visit our “Home improvement” category.
For more tips on maintaining your home and preventing disasters like water damage, check out The Most Common Traffic Violations and How to Avoid Them.
For more tips on maintaining your home’s safety and reliability, check out Automatic Door Maintenance Ensuring Reliability and Safety.